When winter hits, your roof becomes your home’s first line of defense against snow, wind, and freezing rain. But shingles alone aren’t enough. Beneath them lies one of the most important components of cold-weather roof protection: ice and water shield.
This peel-and-stick membrane plays a key role in preventing ice dams and water intrusion—especially in vulnerable areas like roof edges, valleys, and around penetrations. In this guide, we’ll explain what ice and water shield is, where to install it, how it prevents ice dams, and how to install it correctly for lasting performance.

What Is Ice and Water Shield?
Ice and water shield is a self-adhering, waterproof membrane installed beneath roofing materials in areas most prone to water intrusion. Unlike traditional felt or synthetic underlayment, it seals around nails and fasteners—creating a watertight barrier.
Typically made from rubberized asphalt or modified bitumen, this underlayment is designed to prevent leaks caused by wind-driven rain, melting snow, and especially ice dams that form along roof eaves.
How Does Ice and Water Shield Prevent Ice Dams?
Ice dams form when snow melts on a warm part of the roof, flows down, and refreezes at the colder eaves—creating a barrier that forces water back under shingles. Without a waterproof layer beneath your shingles, this trapped water can leak into your attic or home.
Ice and water shields are the industry’s best defense against this issue. Because it self-seals and sticks directly to the decking, it prevents water from seeping into nail holes or joints, offering superior protection at the most leak-prone points of your roof.
Related article: Winter Roofing Tips: How to Protect Your Roof in Cold Weather

Where to Install Ice and Water Shield on a Roof
Knowing where to install ice and water shields can make or break your winter roofing system. It’s typically applied in these key areas:
Eaves and Roof Edges:
Ice dams tend to form at the edges of the roof. Code usually requires at least 24 inches of protection past the heated wall line—but in colder regions, extending coverage is a smart move.
Valleys:
Where two roof planes meet, valleys are a high-flow zone for water runoff and debris. Ice and water shields reinforce these areas and prevents long-term wear.
Around Roof Penetrations:
Skylights, vents, chimneys, and pipe boots are common leak points. Ice and water shield provides an extra layer of waterproofing where flashing and sealants are most vulnerable.
Along Low-Slope Areas
On roofs with pitches under 4:12, water tends to linger longer. Ice and water shields help safeguard these flatter sections from seepage.

How to Install Ice and Water Shield
Installing ice and water shields involves more than just rolling out a sheet—it must be applied with care to ensure long-term protection.
Step-by-Step Basics
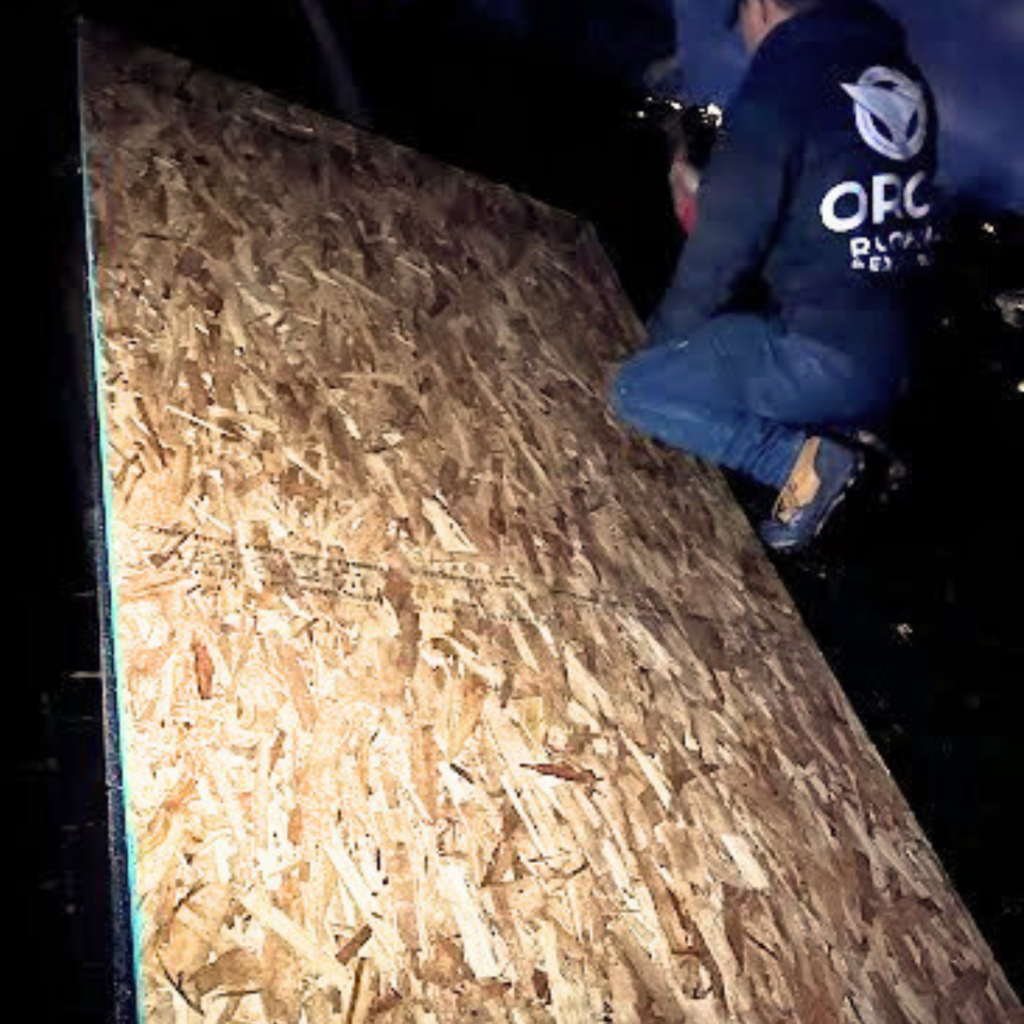
- Apply to clean, dry roof decking (usually OSB or plywood)
- Peel backing and press the adhesive side directly to the surface
- Overlap seams by at least 3 inches
- Use a roller or firm hand pressure to ensure full adhesion
- Extend coverage as required by local building codes or climate conditions
Pro Tip: Always check local regulations. In some colder regions, codes require full-coverage installation across the entire roof surface for maximum protection.
Not sure how much coverage your home needs? The team at Orca Roofing & Exteriors can help you assess your roof’s layout. Contact us.

Final Thoughts: A Small Investment with Big Impact
When installed properly, ice and water shields can prevent thousands of dollars in water damage caused by winter storms and ice dams. It’s one of the most cost-effective upgrades you can add to a new or replacement roof—especially in climates like the Pacific Northwest or Northeast where freeze-thaw cycles are constant.
Not sure if your current roof has this protection? If you’re experiencing winter leaks or visible signs of water damage, it may be time to take a closer look.
Protect Your Roof Before Winter Hits. Contact us
Visit our winter roofing guide or talk to a roofing expert today.
How to Prevent Ice Dams on Your Roof
The best way to prevent ice dams is to keep your roof cold and your attic insulated. Ice dams form when heat from your attic melts snow on the roof, which then refreezes at the eaves, causing water to back up under the shingles.
Key Prevention Steps:
- Install ice and water shield along eaves and valleys
- Improve attic insulation to reduce heat loss
- Ensure proper roof ventilation to keep cold air circulating
- Clear snow buildup promptly after storms
What Is Ice and Water Shield?
Ice and water shield is a self-adhering roofing membrane that sticks directly to roof decking. It forms a waterproof barrier under the shingles to prevent leaks caused by ice dams, wind-driven rain, and standing water—especially in roof valleys, eaves, and penetrations.
How Long Does Ice and Water Shield Last?
When properly installed under quality roofing, ice and water shields can last 20–30 years or as long as your shingles. Durability depends on climate, materials used, and whether it’s exposed to sunlight or covered.
Do All Homes Need Ice and Water Shield?
Not always. Homes in warmer, dry climates may not need it. But in the Pacific Northwest or anywhere snow and freeze-thaw cycles are common, ice and water shielding is strongly recommended—and often required by code for new roofs.


